Tuesday 31 January 2012

Birthday Screen

This card is for a neighbour in her eighties.

"Box"

When you see a box on this blog, you know the card is going to be a bit different.

"Front"

When you open the box, all you can see at first sight is the front of the card.

"Standing in a square"

You need to open it right out for the full effect.


"Side 1 flat"

Each panel is cut with an ornamental die, and the bottom cut flat to allow the card to stand up properly.

"Side 1 standing"

I know that my neighbour likes to set her cards in the window with the good side looking out at the passers by.

"Side 2"

I thought it would be good to make her a card with two pretty sides, so she would still have something to look at on the inside. The blank panel is to write on.

Recipe:
Tim Holtz Sizzix Bigz "Ornamental"
Tim Holtz Sizzix M&S die "Mini Ornamental"
Spellbinders Nestabilities Labels dies
Distress Inks "Milled Lavendar", "Dusty Concord", "Stormy Sky"
Card white & dark brown
Perfect Pearls "blue patina"
Sizzix / Hero Arts stamp & die set
Book Rings
lace & ribbon, various
verse from freebie website
sentiment stamp from set that came free with a magazine
butterfly embellishments from "The Works"

Entered for the following challenges:
Make my Monday - Nature - Butterflies and Dragonflies
Truly Madly Crafty - anything goes
Creative Craft Challenge - bingo (flowers, lace, blue)
Gingersnap Creations - Spicy Supply Challenge - Ribbon

Monday 30 January 2012

Up, Up and Away - a tribute to the Graphics Fairy

Karen, the Graphics Fairy, posted a wonderful hot air balloon last week. I printed off a copy straight away and set to it with my scissors and craft knife.

"Up, Up and Away"

The background is made up with distress inks. Bits of cut n dry foam are used to apply the ink, not too even, so that it gives the appearance of clouds. Splodges are good! The sentiment and other balloons are  from Kaisercraft's "Up, Up & Away" stamp set. The sentiment was stamped in black archival ink and heat embossed with clear powder. I still couldn't resist a little Perfect Pearls on the larger of the two stamped balloons!

"Karen's Balloon"

The main difficulty was in cutting all the balloon's struts, but it is really worth the effort for the extra sense of depth when you can see the background through the gaps. After cutting, the balloon was shaped by turning over onto my mouse pad and running the blunt end of a pen over the inside. The basket, people and flags were also shaped. Finally, the balloon is fixed to the background with pinflair glue to keep the dimension.

If you've never visited the Graphics Fairy blog, you must go and have a look. It's full of fabulous vintage pictures free of copyright and just begging to be used! Thanks Karen, I love the image and hope the card did it justice!

Entered for the following challenge:
Joanna Sheen - celebrations
Fashionable Stamping Challenges - it's a Guy Thing

Saturday 28 January 2012

A birdie birthday.

There are celebrations in the Izzwizz house today - our very first little baby chick has hatched! We have kept hens for ten years, but this year we are breeding our own for the first time and we have little tweeting noises coming from the spare room. My husband, Tom, has just started his very first blog here to write about our hens and will be posting some pictures later on. In the meantime, here's a birdie birthday card to be going on with:

"Happy birthday little chicken"

The stamps are from Crafty Individuals and all the colouring is with three distress inks (Dusty Concorde, Milled Lavendar and Stormy Sky). The background is made much lighter by rubbing all the stamped images with silver Perfect Pearls. This also gives a lovely shimmer effect. The main panel is stamped in black archival ink for contrast.

"Embellishments"

There are lots of embellishments, so the colour scheme has been kept very simple. The row of flowers was sent to me by my very good friend Lee aka CraftyLoops (thanks Lee!). They come as a sheet that you can cut into blocks or strips and she did tell me where to get some more, but I've forgotten (d'oh!). The flowers were originally white, but I coloured them with two colours of distress ink to match the card.

"Bird in branch"

The bird in branch is a Marianne die-cut and has been cut & embossed in silver mirror card. The embossing really gives some texture to the leaves, as well as adding a little eye & wing to the bird. It is fixed on the card with Pinflair glue to raise it up and add a little dimension. The branches at the bottom of the card are also from this die-cut, with the bird removed. The silver butterfly is die-cut from a Marianne butterfly set.

"Sentiment"

The sentiment was stamped in black archival ink and heat embossed with clear embossing powder. The stamp was in a set that came free with one of the cardmaking magazines. The sentiment was diecut from a labels Nestie and coloured with matching distress inks before layering onto a Silver mirror card diecut, embossed and edged with black promarker pen.

Both panels were matted and layered onto silver mirror card and black card before arranging together with some purple and silver lace (the purple lace started out white and was coloured with Dusty Concorde distress ink to match).

So, happy 0th birthday little chickie!

Entered for the following challenges:
The Stamp Man - Embellish It
Joanna Sheen - Celebrations
Mark's Finest Papers - at least 4 layers (there are 8!!)

Wednesday 25 January 2012

Botanical

I love those old Victorian botanical drawings, and the stamps on this card are all taken from the 7Gypsies "Conservatory" set.

"Nature"

I recently acquired some really good quality 300gsm cardstock, and it's been fun playing around colouring and stamping straight onto the card. The background here was coloured with distress inks and dried before stamping in Brushed Corduroy and decorating with gold Perfect Pearls (I can't get enough of these at the moment!). The main image was stamped in brushed corduroy. Masking techniques were used to block areas for distress colouring, then the individual stamps were gently coloured using a watercolour brush dipped in water & a little of each distress ink colour. Keeping to a muted & limited colour palette helps tie all the elements together.

"Side view showing dimension"

With so much stamping and colouring going on, the layout has been kept very simple. The main image panel was matted onto a thin frame of hammered gold cardstock (to match in with the perfect pearls), and layered onto the background with a thin strip of gold & deep pink lace. The (Tim Holtz) sentiment is simlarly coloured, matted & layered using the small oval & scalloped oval Nestabilities from Spellbinder. Both panels were adhered to the card using Pinflair to add some dimension.

"Butterfly"

For added interest, one of the butterflies was stamped in black archival ink onto thin acetate, cut out and the wings shaped, then stuck to the main image with glossy accents.

Entered for the following challenges:
Ribbon Carousel - non-traditional colours (botanical drawings should be black and white)
Cheerful Stamp Pad - birds of a feather
Truly Madly Crafty - Anything Goes
Bunny Zoe's Crafts - photo inspiration
Let's Ink it Up - Anything Goes
Fashionable Stamping - butterflies and bugs
Moving Along with the Times - things with wings
Simon Says - anything goes

Tuesday 24 January 2012

A Beautiful Moment

The sentiment on this card is one of my favourites from a Tim Holtz stamp set: "live in the moment and make it so beautiful that it will be worth remembering"

"Live in the moment"

The stamps and diecuts are from a new Sizzix/ Hero Arts set. Sorry about the shine in the photograph which makes it a little difficult to see the stamping - it's dark here again and I had to use the camera flash


"Make it Beautiful"

All the colouring has been done with distress inks and blue & silver Perfect Pearls from the patina collection.

"It will be worth remembering"

Simon Says Stamp and Show... a Song Title this week. Paul Simon's "Kathy's Song" is one of my favourites. Written about an English lover that he left behind when he went back to the USA chasing fame and fortune, it seems to me to be a tale of remembering beautiful moments. You can find the full lyrics here on Paul Simon's website.

Entered for the following challenges:
Sir Stampalot - monochromatic (all blues - even the sentiment!)
Simon Says Stamp and Show... a song title
Samuel Taylors - distress (fab prize of four distress inks!)

Sunday 22 January 2012

Stamping a sketch

This week Simon Says ...use Domis' sketch. I've been playing with some Crafty Individuals stamps and distress inks that I got for Christmas, and thought it would be fun to paint the whole sketch with ink and stamps.

"Sail on to calmer waters"

The birds are from a Tim Holtz' stamp set. The inks are all distress inks, and colouring was by foam and brush.

"Explore"

This second version has a slightly more dramatic colour scheme.

Entered for the following challenge:
Simon Says... use Domi's sketch

Wednesday 18 January 2012

Altered Clock

Don't worry, I 'll be showing you some more cards soon, but first here's an altered wall clock.

"Altered clock"

This started out as just a very plain plastic clock. It was taken apart and the dial was removed then used to size a circle of glossy, white cardstock.

"Side view showing stamped decoration on outside of clock"

The clock and new dial were decorated with Adirondack alcohol inks & gold mixative, before stamping some Tim Holtz stamps with black archival ink.

"Altered clock"

The hands were dabbed with gold mixative. A small butterfly was diecut from a bit of saved cellophane wrapper to add to the secondhand (I used the thinnest clear plastic I could find so as not to add too much weight to the hand). The diecut was decorated with alcohol inks and stamped with Tim Holtz' butterfly in black archival ink to match the background, then fixed to the secondhand with a little glossy accents. It's fixed sideways and facing clockwise so that it flies in the right direction when the secondhand moves!

Entered for the following challenge:
Simon Says Stamp and Show... anything but a card.

Sunday 15 January 2012

Alice Chess Tag Book

The theme at Altered Alice this month is stripes. Lewis Carroll represented "Through the Looking Glass" as a chess game, and a chess board is made up from sets of perpendicular stripes, so what better subject than Alice Chess for my entry!

"Alice Chess Tag Book"

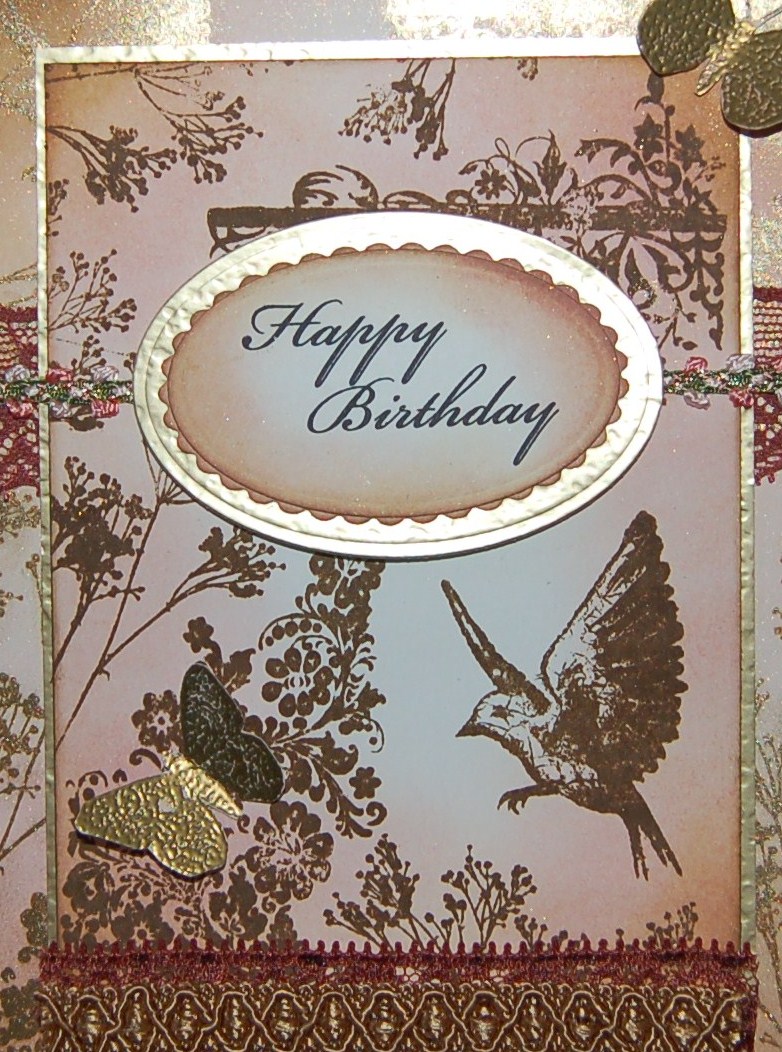
Lewis Carroll's original chess representation was used for the subject of the front cover, with a gold punched border to turn his chess board into a more realistic one. The background has Tim Holtz stamped images with plenty of gold Perfect Pearls for some shimmer.

"First Moves"

Each double spread represents Lewis Carroll's moves and depicts the characters in the correct squares on his chess board for each part of the story.

"1. Alice meets Red Queen"

I've added numbers to help people who aren't familiar with the chess notation.

"1. Red Queen to King's Rook's 4th"

The red notation is numbered from the opposite end of the chess board!

"Second moves"

Each double page has an Alice move and a non-Alice move.

"2. Alice through Queen's 3rd (by railway) to Queen's 4th (Tweedledum and Tweedledee)"

Ask me nicely and I'll tell you how I made the railway :-)

"2. White Queen to Queen's Bishop's 4th (after shawl)"

The crowns here are stamped and covered in Perfect Pearls. Notice the white queen ends up in the square next to Alice, Tweedledee & Tweedledum.

"Third moves"

The squares have all been coloured by masking and inking with Red Barn distress ink.

"3. Alice meets White Queen (with shawl)"

Most of the images are John Tenniel's original illustrations from the late 19th Century (hence out of copyright), and coloured with promarkers.

"3. White Queen to Queen's Bishop's 5th (becomes sheep)"

I took the liberty of adding my own "Shirley the Sheep" design in here :-). Note the red king sleeping in the square next to where Alice met Tweedlee and Tweedledum. She really is in danger of being taken!


"Fourth moves"

Well, this is as far as I have got so far.

"4. Alice to Queen's 5th (shop, river, shop)"

This is where the white queen turns into a sheep, they end up in a boat, and then go back to the shop. One of the things that has really impressed me looking at John Tenniel's illustrations is that the characters are always depicted on the correct sides for the chess squares! Some day I'll have the time and money to do a big chess board version of this for the wall.

"4. White Queen to King's Bishop's 8th (leaves egg on shelf)"

I hope you noticed all the extra stripes along the way (Alice's stockings, Tweedledee & Tweedledum's shirts, the background in the shop, the railway...). Hopefully, I'll get a chance to add the rest of the moves in a later challenge.

Entered for the following challenges:
Altered Alice - Stripes
Simon Says Stamp...Spots and/or Stripes
The Stamp Man - Use Red

Wednesday 11 January 2012

Be my valentine - a red letter day

The theme at Simon Says Stamp and Show... this week is "Red Letter Day", and what better red letter day than St. Valentine's?

"Red Letter Day, St. Valentine's"

I just love this rich colour combination of deep pink & gold, so romantic and feminine and just perfect for a Valentine's or Anniversary card.

"Centre Panel"

The main panel has the script stamp from Tim Holtz' "Papillon" stamp set with plenty of gold Perfect Pearls and other stamps from the set are added in black archival ink.

"Butterflies Flutter By"

This huge Spellbinders butterfly makes a great centrepiece to echo all the lovely Tim Holtz stamped butterflies.

"Elegant Corners"

Parts of diecuts from the Spellbinders Elegant Posts set are cut & coloured to look like metallic corners.

"Butterfly"

Smaller butterflies are made using Marianne Creatables diecuts.

"Butterfly"

Some pink gems are added for a little sparkle.

"Lace"

More of that scrumptious lace from Kathy is added for texture (thanks again Kathy).

"Tags and charms"

One of Lee's bird cage diecuts make a fabulous foil to hang interesting extras from (thanks again Lee). Here, three diecuts from Tim's "Tiny Tabs & Tags" set have been stamped with parts of the Papillon set and inked to match the background, then attached with jump rings along with a couple of charms. The bird cage itself was attached via a chain of jump rings to a small eyelet set into the top of the card.

Entered for the following challenge:
Simon Says Stamp and Show... Red Letter Day
Samuel Taylors - distress (great prize of four distress inks)
Stampin' for the Weekend - Vintage

Friday 6 January 2012

Vintage birthday card

A big thankyou to Kathy from Docrafts who was my Christmas swap partner this year, and sent me some absolutely gorgeous lace. Some of it is used on this card and I hope she approves.

"Vintage birthday card"

The design is mostly achieved with distress inks & Tim Holtz stamps. The background has gold Perfect Pearls rubbed into the stamping for lots of shine.

"Closeup of main panel"

The stamping from the background is repeated on the main panel in a darker colour. The sentiment is stamped in black archival ink, distressed, and diecut in layered ovals before fixing to the main panel with Pinflair.

"Butterfly"

A couple of butterflies are stamped and heat-embossed in gold onto white card before colouring with distress inks, cutting out and fixing to the card with the wings raised to add a little dimension. This design folds neatly flat for posting at the standard letter rate :-)

Entered for the following challenge:
Samuel Taylors January Blog Challenge - Distress (fab prize of 4 distress reinkers - woohoo!!)
Simon Says Stamp...NEW something (new lace)
Crop Stop Challenge - Go for the Gold

Monday 2 January 2012

Picture Frame

Back to "normal" today (whatever that is!). After all those Christmas cards, it's great to get out some non-Christmassy stash for a play. This week's theme for Simon Says Stamp and Show is "Something Old, Something New", so what better than some altered art to kick off the new year?

"Altered picture frame"

A plain wooden picture frame was sanded and the edges coloured with Pine Needles distress ink.

"Left hand view"

The faces were covered with panels cut from the Graphic 45 Steampunk Debutante paper pad, the edges sanded and distressed with more ink.  Individual images were cut, shaped with an embossing tool and adhered to the panels with Pinflair glue. A couple of butterflies were added; their wings shaped up and just the centres of their bodies glued. The image on centre panel was decoupaged for extra depth.

Entered for the following challenge:
Simon Says Stamp and Show... something old something new (old frame, new papers)

Sunday 1 January 2012

Happy New Year

I hope you all spent the evening having fun and I would just like to wish everyone "Happy New Year" with two quick cards.

"Happy New Year cards"

Both cards use decoupaged images from the Graphics Fairy, background mats punched with my favourite Martha Stewart Wild Flowers PATP and lace.

"Old Father Time"

The background card & image edges are distressed with Tumbled Glass & Faded Jeans. The image is matted onto a punched border using card cut from a Marks and Spencer cake box, then a larger border from holographic card decorated with pale blue pearls and gems.

"Burtonesque"

This image reminded me so much of Tim Burton's work, I just had to go for the grunge and distress with Black Soot. Some water splashes and Rock Candy distress stickles were used to splodge and highlight the image, and pearls decorate the punched background. It's just how I feel on New Year's Eve, kind of soggy round the edges with a bit of sparkle.

Happy New Year!